Great Coin Photography for Accurate Appraisal
1) Macro Mode
If your camera has a macro mode (usually signified by a tulip icon), turn it on.
2) Lighting
If you have plenty of natural lighting, use curtains or a white sheet to diffuse the light. That way, the light not so concentrated, creating glares, but rather covers more of the area evenly.
If you do not have much natural lighting, get two or three lamps with bright bulbs of the same color. Desk lamps work fine. If one is all you have, one light work. Again, you’re looking for diffuse light (think lamp) rather than focused light (like a flashlight).
3) Stability
A) If you have a tripod, be ready to use it. If you don’t, that’s okay! You can use your hands if you’re careful.
B) Put your coin on a neutral colored (gray, black, or white – a blank white sheet of paper works just fine), stable surface, like a table.
NOTE:
Only handle coins by their edges. If the coin is a proof or uncirculated example, you may wish to handle the coin with gloves. If not, at least wash your hands before and after handling the coin to reduce natural oils. Put your lamps on the same surface (table) as the coin, 1 to 2 feet above the coin in height. See the arrangements described below. Try to have between 6 inches and a foot between the center of the coin and the center of each lamp bulb. (None of this is exact science; this is a starting point. Just do what works best for you.):
L1, 2, 3 – lights C – coin Cam – camera
3 Lights Set Up, Camera Centered:
L2
L1 C L3
Cam
2 Lights Set Up, Camera Centered:
L1 L2
C
Cam
1 Light (including natural) Set Up, Camera Centered:
L1
C
Cam
4) Take the Picture
Hold your camera as close to the coin as you can without blocking any light. Ideally, you want the camera lens directly above the coin. If not, move the camera as close as possible to directly above the coin.
Try holding your camera lens (holding your camera in your hand) about 3 inches from the coin. If your camera can focus, take the picture. If your camera cannot focus, or if your camera is covering too much light, move your camera to 6 inches away. Keep moving away slightly and slowly, trying your autofocus as you go, until your camera focuses completely making the entire coin sharp.
Autofocus may take patience and many tries.
Once you have your coin in focus and your lighting set such that there is no glare, take the picture. You’re looking for as much coin detail as possible. If you can, use your tripod to hold the camera in that exact same position without blocking light.
If you’re not using a tripod, leave your lights and coin on the table so you can keep both hands on the camera. Sometimes people try to hold lights. Try to leave them on the table and use their adjustments. Your hands are better used steadying the camera. If needed, sit down in a seat with both elbows on the table to keep the camera steady.
Take a great picture!
For the purposes of accurate coin appraisal, take two or three pictures of each side.
Once your done, flip the coin over. (Try to only touch the coin’s edges. Don’t slide either coin face on any surface.) Take more pictures.
Here are some example positions to try to get multiple angles of the same side:
#1, Camera Below Left:
L1
C
Cam——-
#2, Camera Below Center:
L1
C
Cam
#3, Camera Below Right:
L1
C
——-Cam
#4, Camera Above Left:
Cam L1——-
C
#5, Camera Above Right:
——-L1 Cam
C
What we’re after is exactly what the coin looks like – all flaws and wear apparent. When you’ve taken a few pictures with all flaws and wear clearly visible on both sides, we can be ready to produce an accurate appraisal. Hiding flaws and wear will not allow accurate appraisal. Different angles help to show different parts of the coin more accurately.
So there you have it! It takes a little practice, but it’s worth the effort. You’ll be rewarded with honest pictures of your coins.
Common Coin Photography Mistakes
Our service can only be as excellent as the photographs you submit.
Let’s go through some common coin photography mistakes. These mistakes are made often. If you make them, no worries – with a little thought, guidance, and practice, you can fix them easily.
#1) Coin Photography Mistake #1: Blurry Photographs
There’s no reason to take blurry photographs.
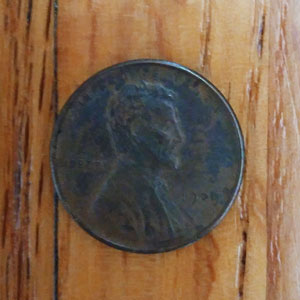
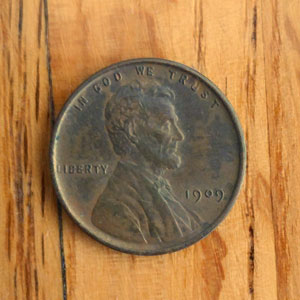
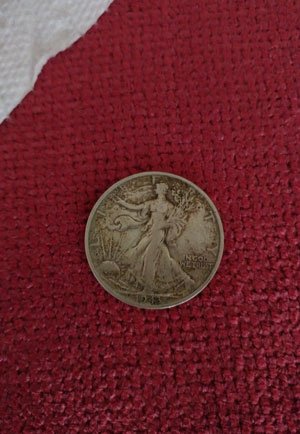
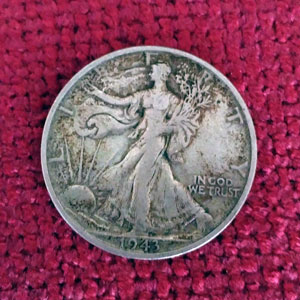
Here’s a blurry photograph of a coin (left) and a clear photograph of a coin (below). As you can see in the blurry image, there is insufficient detail to accurately determine the exact condition of the coin. All of the coin’s detail is obscured.
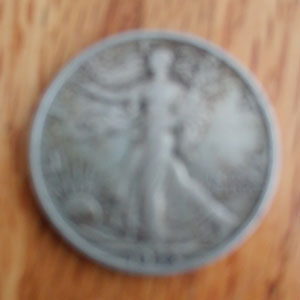
BAD: An unacceptable blurry coin photograph. This is caused by a shaky photographer, an out-of-focus lens, or both.
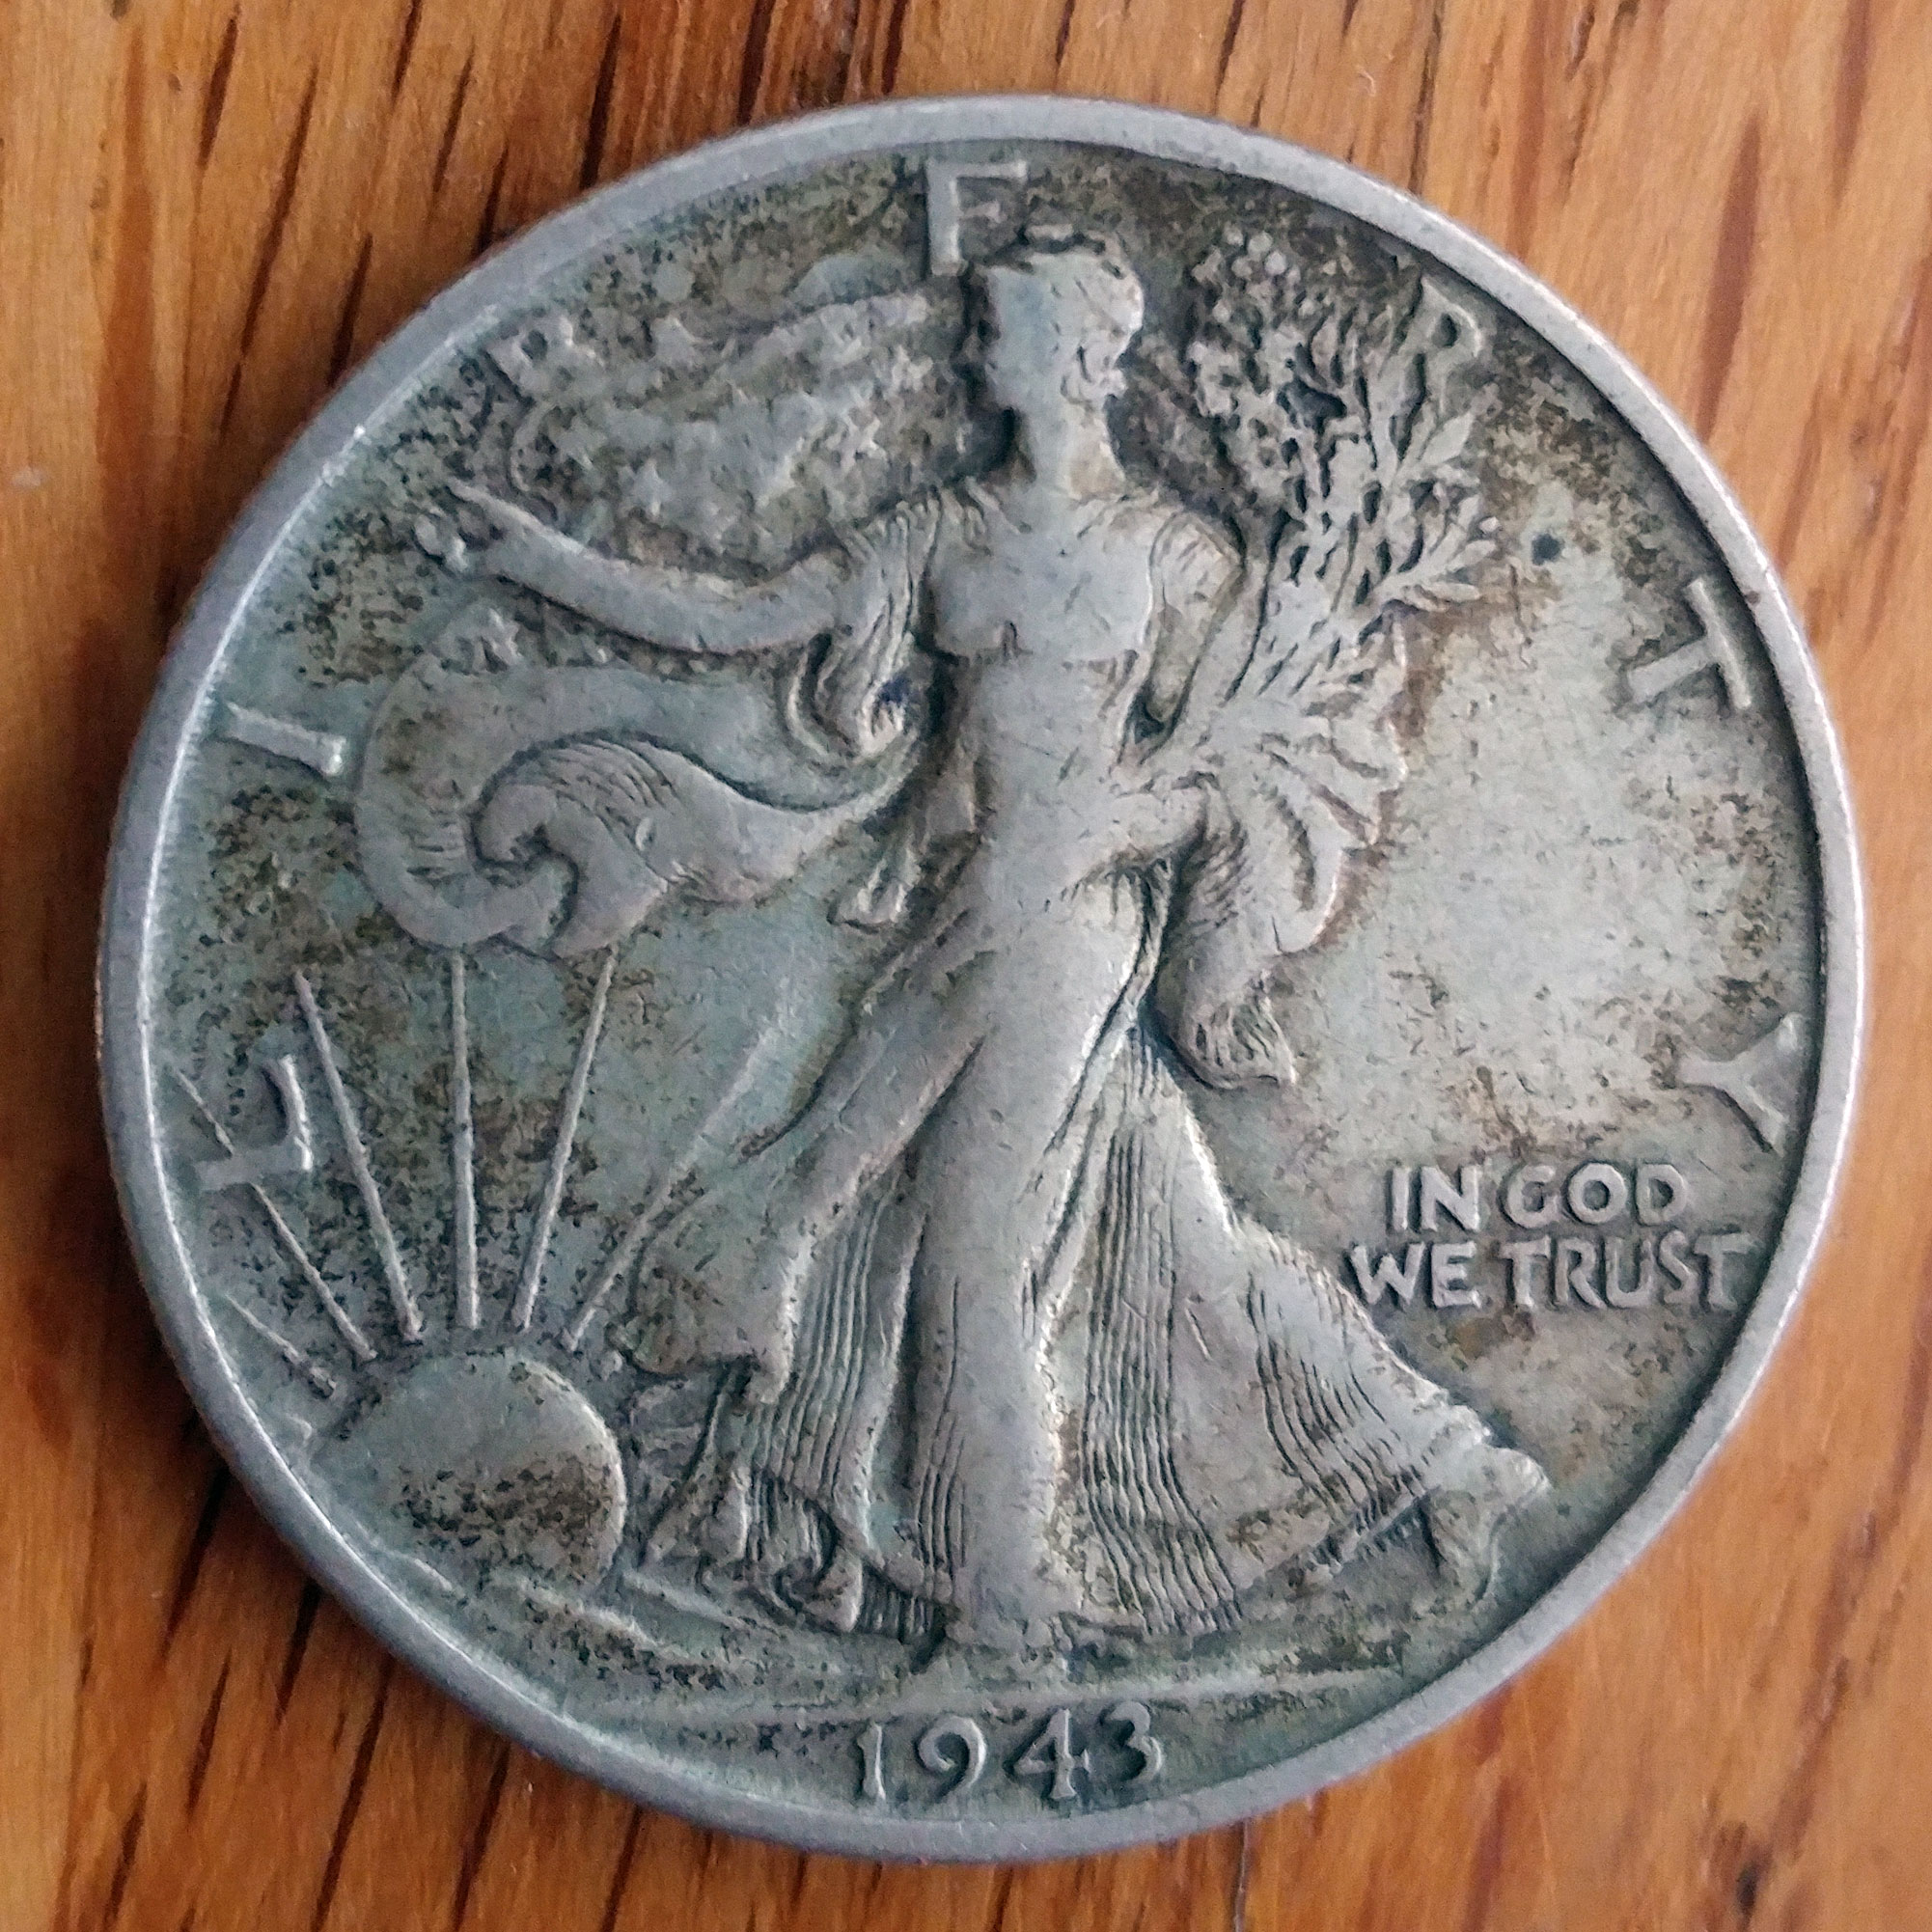
GOOD: An acceptably sharp photograph of the same coin. Here, the photographer’s hand (or tripod) is steady, the lens is focused properly, and lighting is sufficient.
Why this coin photography mistake happens:
1) Sometimes lighting can trick a digital camera’s auto-focus to adjust incorrectly.
2) Sometimes the photographer is holding the camera lens too close to the coin.
3) Sometimes the camera is not steady enough to capture a sharp image.
To fix this coin photography mistake:
1) Make sure your lighting is bright enough, and even, but not too bright in any one spot. You don’t want the coin to be too reflective, as that can remove necessary detail from the coin image.
2) Be patient, and adjust the distance from the camera lens to the coin. Finding the correct distance may take time. You might start by holding your camera lens about four inches from the coin. If the coin is blurry, move your lens away, to five inches from the coin. If you can, try to refocus the lens to see if the camera can focus at that distance. If it can, make sure your lighting is sufficient and take the picture. If it cannot, keep moving back until your coin is large, well-lit, and in focus.
3) If you’re doing all of this and you’re unable to capture a sharp image of the coin near the camera lens’ minimum focus distance, the camera may not be steady enough to capture a sharp image. Your hand may be moving as you snap the picture, shaking the camera a little bit. To fix this, use one hand to steady the camera (put your elbows on the table, if needed), and use a finger from your other hand to lightly touch the camera’s shutter button to take the picture. Some people prefer to keep both hands on the camera and gently move one finger to take the picture without moving the camera.
#2) Coin Photography Mistake #2: Shiny Coins
Proper lighting fixes shiny coin photographs.
Here’s a photograph of a shiny coin (left) and a clear photograph of a properly lit coin (below). As you can see, there is insufficient detail to accurately determine the exact condition of the entire surface coin. Much of the coin’s detail is obscured (in this case, about 20%, or one fifth).
BAD: An unacceptably shiny coin photograph. A large amount of detail is obscured by a bright reflection from the coin’s surface on the bottom left. Proper, even lighting fixes this problem.
GOOD: An acceptable coin photograph. Here, the coin photographer has taken the time to move their light source around to make sure the lighting is even.
Why this coin photography mistake happens:
1) Often, photographers attempt to use the camera’s built-in flash or light but fail to angle the camera properly.
To fix this coin photography mistake:
1) Angle the lighting differently. Make sure your lighting is bright enough and even. Angle the camera and light such that they light up the entire coin, while minimizing overly bright reflection.
This takes time and practice – especially with toned or certified coins. You just have to be patient. Most often, you don’t have to move the coin or the camera around. Instead, position the lights around the coin and camera until the image of the coin is clear in the camera’s viewfinder. Experiment. Two or three lights may work better. If using multiple lights, make sure all of the bulbs are the same (or at least similar in) color temperature.
#3) Coin Photography Mistake #3: Overly Dark Coins
Proper lighting fixes dark coin photographs.
Here’s a photograph of a dark coin (left). Underneath that is the same photograph, digitally brightened. Beneath those is a clear photograph of a properly lit coin. As you can see in the first two images, there is insufficient detail to accurately determine the precise condition of the coin. Much of the coin’s detail is too dark to see.
BAD: This unacceptable image was photographed with insufficient light. Darkly-colored coins require bright, even lighting.
BAD: This unacceptable image was photographed with insufficient light. Even compensating digitally for lack of brightness does not bring back the detail. A tripod may have helped some in this situation, but really, better lighting is always the best fix.
A great deal more of this coin’s detail is visible because the photographer ensured sufficiently bright, even lighting.
Why this coin photography mistake happens:
1) Sometimes, the darkness of coins (like corroded copper or heavily naturally toned silver) are simply the result of their time in an unsuitable environment.
To fix this coin photography mistake:
1) Make sure your lighting is bright enough and even. Angle the camera and light such that they light up the entire coin, while minimizing bright reflection.
This takes time and practice – especially with toned or certified coins. You just have to be patient. You don’t have to move the coin or the camera around unless you have to – what you really want to do is position the lights around the coin and camera until the image of the coin is clear in the camera’s viewfinder. Experiment. Two or three lights may work better. If using multiple lights, make sure all of the bulbs are the same or at least similar in color temperature.
#4) Coin Photography Mistake #4: Pictures of Coins that Make the Coin Too Small
Bring the camera closer to the coin.
Here’s an unacceptable photograph of a coin which appears small (left), and a clear photograph of the same coin (below). The coins are the same. Their size is the same. But there is insufficient detail in the top image to accurately assess the coin’s condition.
BAD: In this unacceptable example, the photographer took the image with the camera too far away from the coin. It’s too small to make out any detail.
BAD: Here is the same unacceptable image, zoomed in, and cropped properly. Detail is still lacking. Here, it’s best to retake the photograph with the camera closer to the coin.
GOOD: In this acceptable image, the photographer moved the camera closer to the coin to maximize its size in the camera’s viewfinder. The photographer also ensured sufficient, even lighting.
Why this coin photography mistake happens:
1) The photographer snaps the picture with the camera too far away from the coin, OR,
2) The photographer fails to edit the picture (in this case, crop) after taking it so that picture has the coin using up enough of the screen.
To fix this coin photography mistake:
1) Try to take the picture with the camera closer to the coin. If you cannot get the camera any closer to the coin without effecting the clear focus of the camera lens, edit the photograph. Crop the picture (square crops usually work well) such that the coin takes up most of the picture, but without cutting any edges off. If the image of the coin becomes too grainy or pixelated, you may need to use a different camera so that you can zoom in on the coin with more clarity.
Hint: You do not need a special camera or lens to photograph coins. All of the photographs on this page were taken with a few year old phone.
(If you want to get a new camera or lens for coin photography, do it! There’s no such thing as “enough beautiful coin pictures!”)
#5) Coin Photography Mistake #5: Coins that Appear to be the Wrong Color
Change your background, or use something to assist the white balance computer of your digital camera.
Here’s an incorrectly-colored photograph of a coin (left) and a properly-colored photograph of a coin (below). The coins are the same. Their real colors, therefore, are obviously the same. The camera used to take both photographs is the same. But the camera was unable to correctly reproduce the natural colors of the setting because it was confused by lighting or by the background.
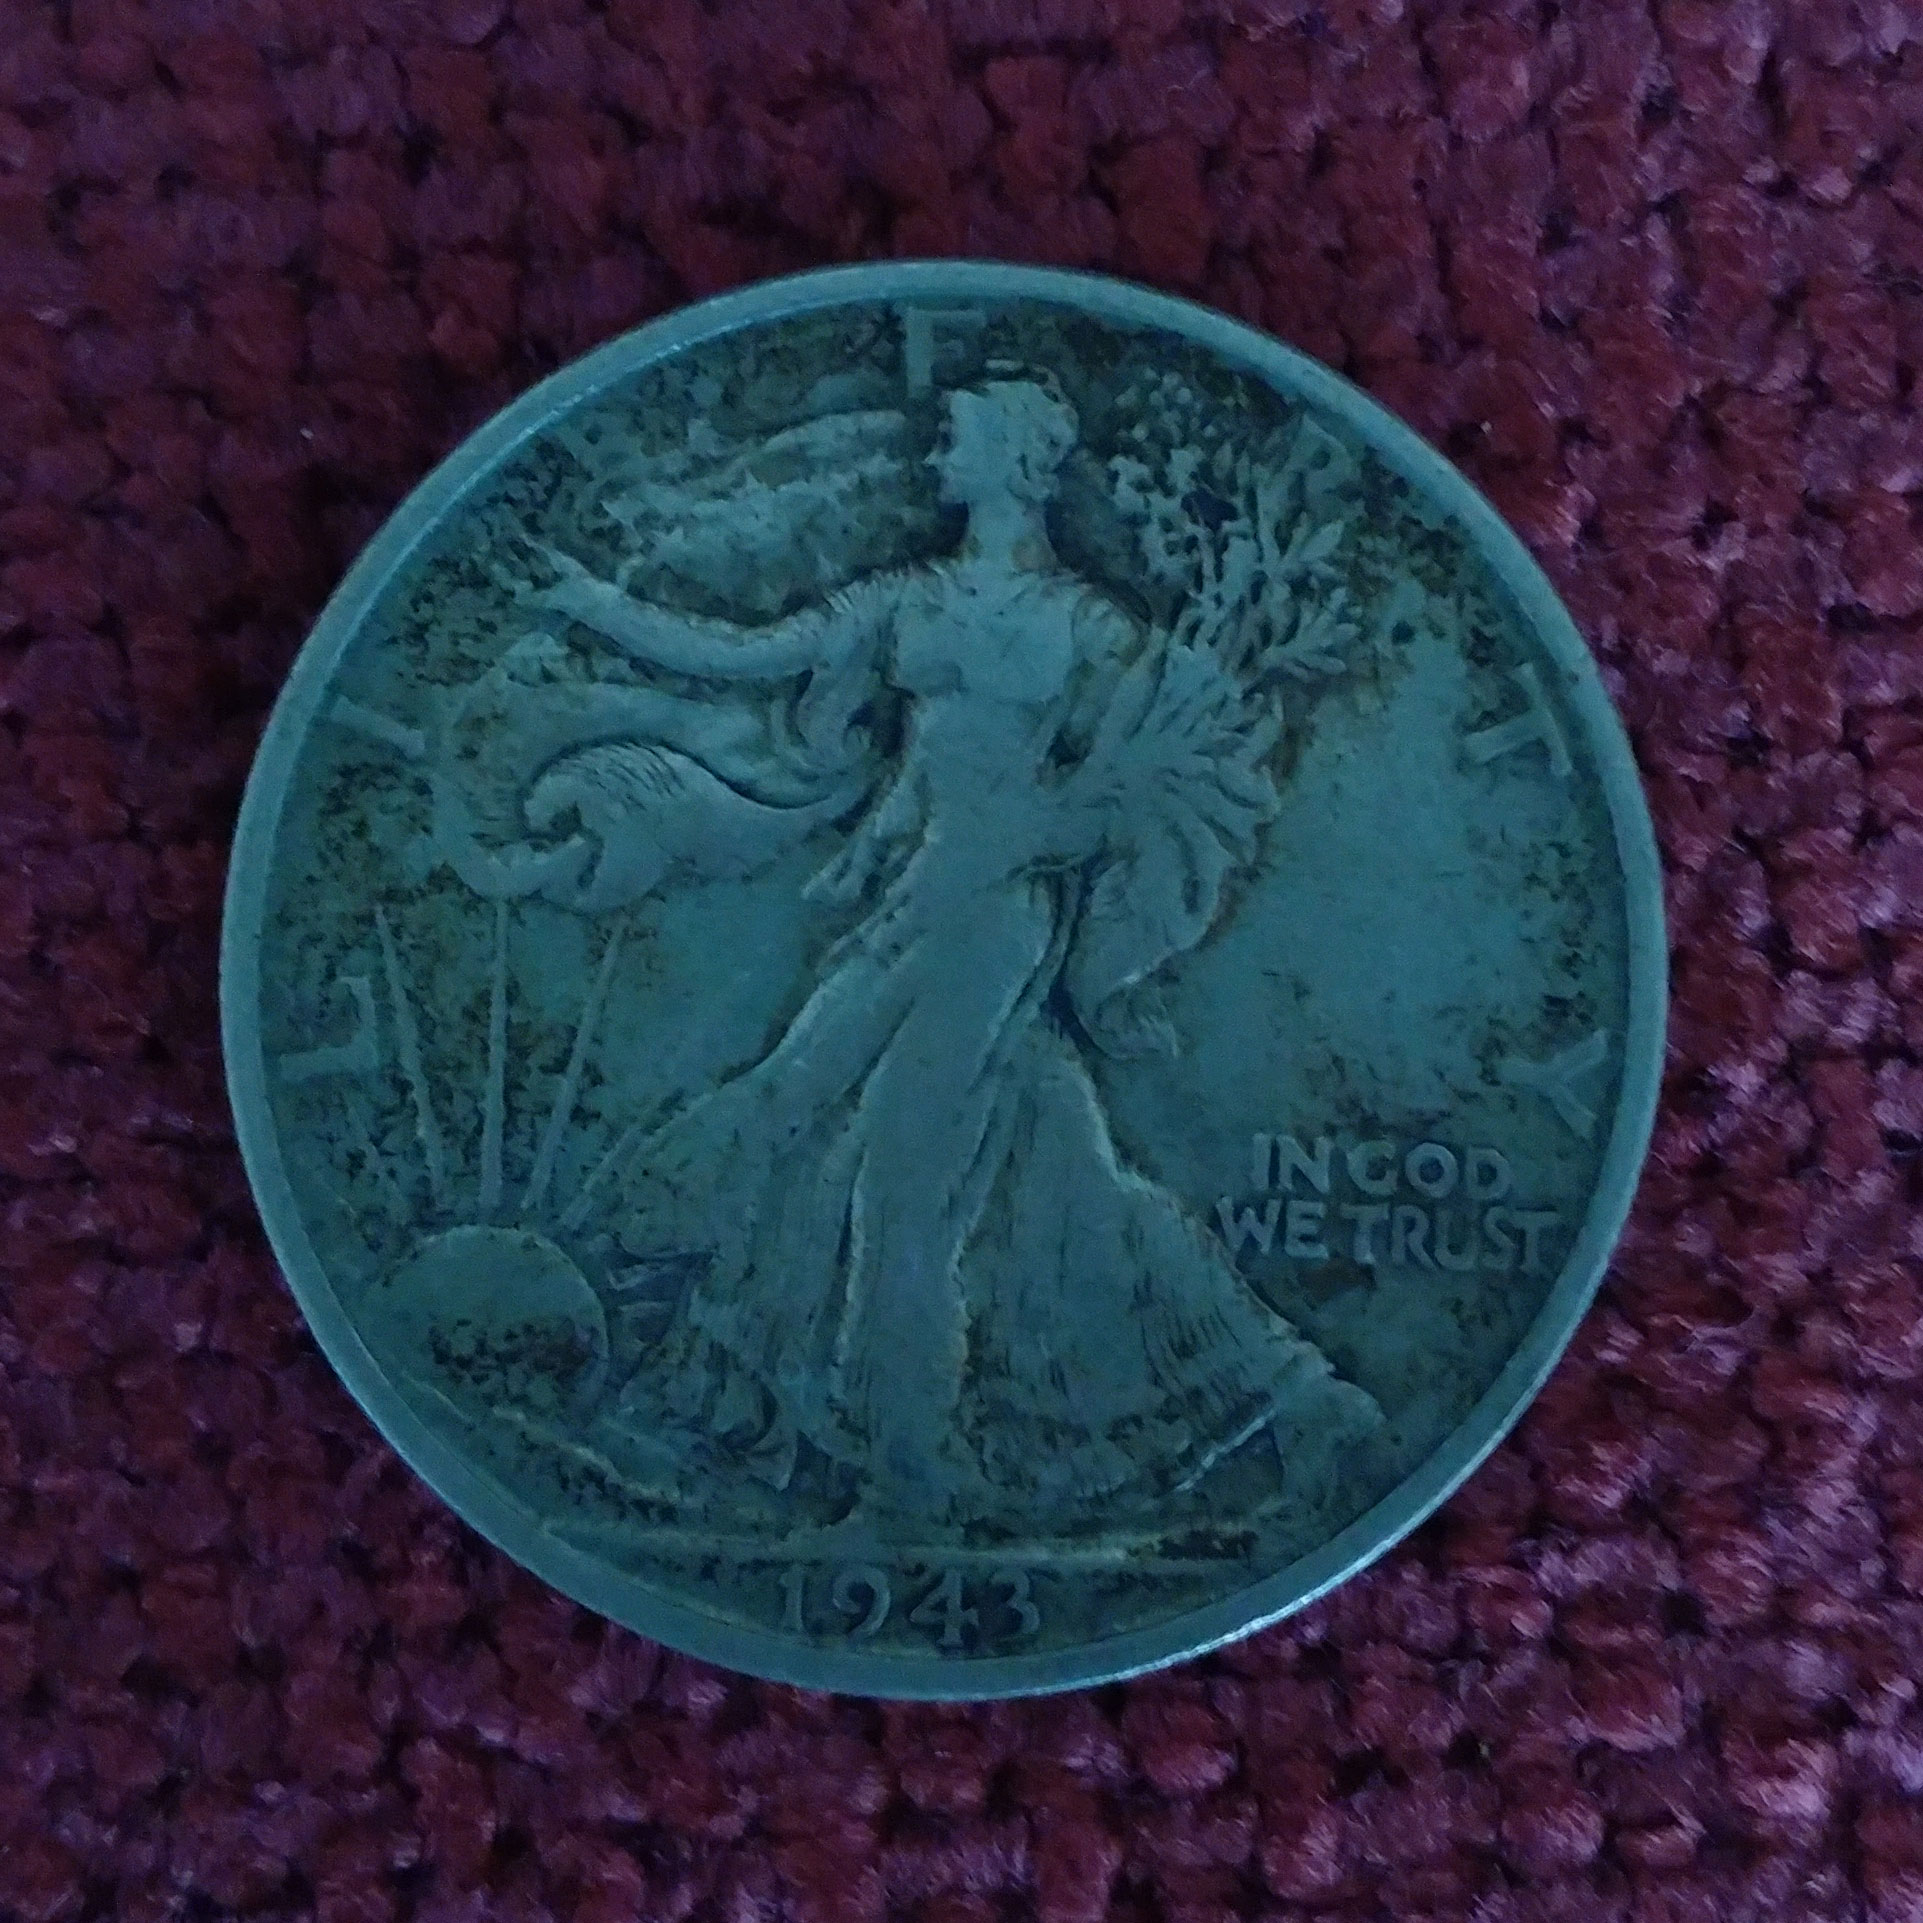
BAD: An unacceptable original image of a coin, taken with a maroon-colored background. The camera is unable to calculate the correct color because there is not strong enough full white and full black element for its computer use for calibration. A neutral background (gray) would help.
Better: An acceptably colored image with the same maroon background. In this photograph, the photographer added a strong white element (in this case, a paper towel) for the camera to use for color calibration. The resulting image has more natural color tones.
GOOD: An acceptable, color-corrected image of a coin with the same maroon background. After photographing the same coin with a paper towel in one corner, the photographer cropped the image more tightly around the coin, and used photo editing software to make an automatic color adjustment. In this case, it worked well, bringing out more of the natural detail of the coin.
Why this coin photography mistake happens:
1) The photographer photographs the coin against a solid, non-neutral (or solid-colored) background.
To fix this coin photography mistake:
1) Make sure lighting is sufficient, then put a black piece of paper or a white piece of paper close to the coin and inside the image’s frame. This allows the camera to see the black and white so that it can adjust itself to make the white look white, the black look black, and the color of the coin can be closer to natural.
Look, if you’re eventually going to try to sell your coins, fixing these mistakes will save a lot of time and frustration by helping you honestly present your coins to buyers.
When we see coin photographs exhibiting some or many of these mistakes, we know it could simply be that the photographer doesn’t know better.
But there are also many devious people out there using these mistakes to dupe would-be buyers. (Keep a look out for these problems in online auctions. If you can’t see the coin clearly, don’t buy it!)
Coin collectors are picky. If they feel the images were not forthright representations of the coins they bough, they WILL return the coins.
So even if you’re not enjoying this process, it’s a good idea to figure it out so you can maximize the value of your coins to the widest audience.
In the end, it’s up to you to take great photographs of your coin so that you can show the detail you wish the photograph’s viewer to see. Be patient, take your time, work on your lighting techniques and you’ll improve. And, just like coin collecting, it can be a lot of fun!